Maintenance Tips

High Speed Handpiece Maintenance Tips

Did you know that high speed dental handpiece turbines can rotate faster than the turbine blades in a jet engine? Modern air-driven handpieces that are operated at 350,000 RPMs are rotating an incredible 5,800 times per second! It stands to reason that anything generating those kinds of velocities is going to be highly susceptible to damage with any kind of deviation in proper maintenance and lubrication procedures. This is, in fact, the number one cause of premature handpiece bearing failure that we see when doing failure analysis on handpieces at our repair facility. It is critical to follow proper instructions
regarding cleaning, lubrication, and sterilization procedures in order to extract the maximum amount of longevity and trouble-free use as possible out of the handpiece. And, it saves you money! Below is a general guide full of tips that will help point your practice in the right direction, but it is highly recommended to check your manufacturer’s specific instructions for each handpiece.

Things To Remember

  • Your air pressure at the handpiece should be set at 32-35 psi (for Maintenance Free, 40-42 psi).
  • On an auto-chuck type handpiece, always insert your burs completely.
  • Never depress the back cap to stop the bur.
  • A small drop of lubricant should be inserted into chuck periodically (at least once a week). After inserting a drop, open chuck and gently move a bur back and forth through chuck to clear any debris that may accumulate. A proxy brush may also be used in place of the bur.

External Maintenance

  • NEVER use any type of cold sterile, alcohol or disinfectant on your handpiece.
  • Do not submerge handpiece in running water or ultra sonic cleaner.
  • To remove any debris from the outside of the handpiece, use a toothbrush damp with WATER ONLY!
  • Then use a dry paper towel to wipe off outside of handpiece.
  • Afterward, deposit toothbrush in a cold-sterile or ultra-sonic cleaner solution and discard the paper towel in biohazard bin.
  • Rinse toothbrush thoroughly in water before repeating cleaning process.
  • To sterilize, insert handpiece into a sterilizer pouch for best results.
  • Check sterilizer temperature. It should be no higher than 275 F.

Maintaining Your High-Speed Handpiece Using Hand Oiling Process

  • Spray a 2-3 second shot of handpiece cleaner into drive-air tube.*
  • Run handpiece into a paper towel to expel excess oil and wipe any visible oil off the outside of the handpiece. If fluid is not clear, repeat process.
  • To sterilize, insert handpiece into a sterilizer pouch for best results.
  • Check sterilizer temperature. It should be no higher than 275 F.
  • AFTER STERILIZATION, use a clean nozzle and drop 2-3 drops of lubricant into drive-air tube.*
  • Run handpiece into a paper towel to expel excess oil and wipe any visible oil off the outside of the handpiece. Handpiece is now ready to use.

Maintaining Your High-Speed Handpiece Using A maintenance Machine

  • After cleaning outside with damp toothbrush and drying with a paper towel, wipe any excess oil off the outside of the handpiece and place it in the maintenance machine and run cycle.
  • Then bag and sterilize handpiece.
  • Prior to use lube handpiece by hand by spraying a 2-3 second shot of handpiece lube or 2-3 drops of handpiece oil into drive-air tube.*
  • Run handpiece into a paper towel to expel excess oil and wipe any visible oil off the outside of the handpiece.
  • Handpiece is now ready to use. *The drive-air tube is the smaller of the two large tubes.
High Speed Handpiece Maintenance Auto-cleaner

Low Speed Maintenance Tips
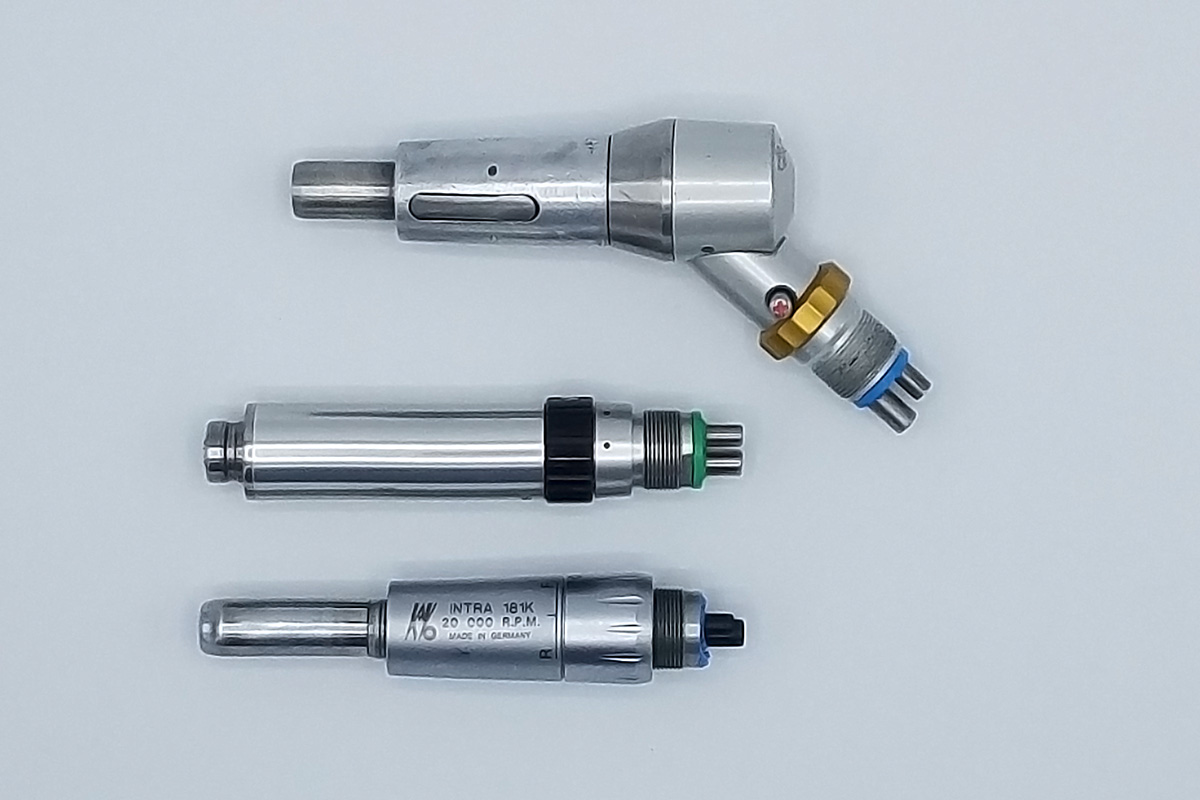
Low Speed MaintenanceLOW SPEED MOTORS

Things to Remember:

  • Your air pressure should be set at 32-35 psi.
  • Check sterilizer temperature. It should be no higher than 275 F

To maintain your low-speed handpiece:

  • We recommend that you do not use any spray cleaners in your low-speed.
  • Sterilize handpiece according to specification.
  • Once every other morning, drop 2-3 drops of handpiece lubricant into drive-air tube. (2-3 drops in bur hole on straight type low-speeds. ex. Micromite, Little Guy).
  • It is not necessary to lubricate low-speed after every use.
  • "Free run" handpiece UPSIDE DOWN for 10 seconds.
  • Handpiece is now ready to use.

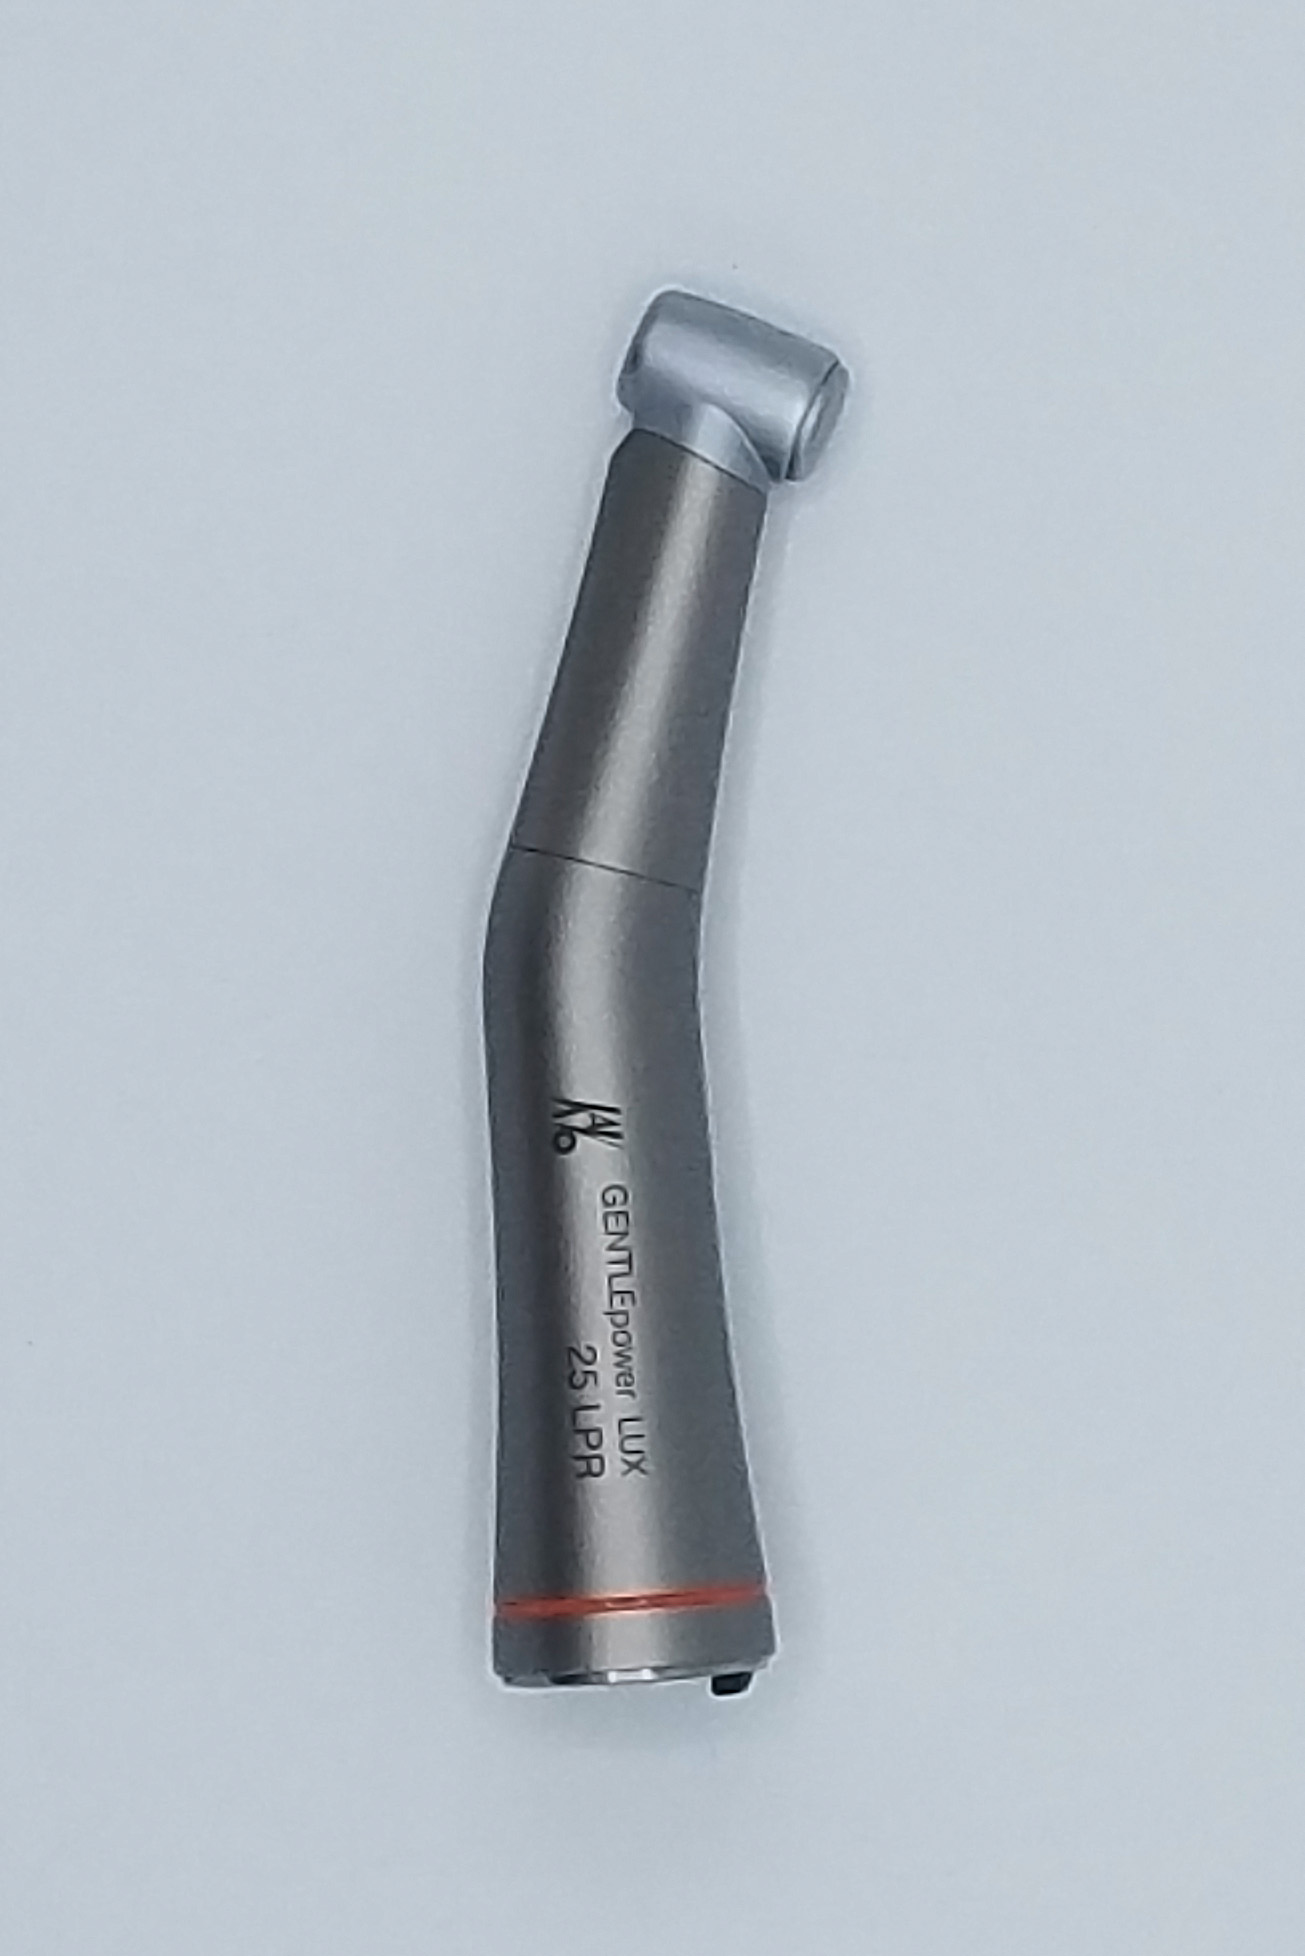
LOW SPEED ATTACHMENTS

To maintain your low-speed attachments -

For Contra Angle with Removable Head:

  • Remove head from angle. Wipe down gear shaft with dry towel.
  • Spray handpiece cleaner into head and contra angle.
  • Wipe with dry towel thoroughly and reassemble.
  • Attach to motor and run UPSIDE DOWN into paper towel to expel excess cleaner.
  • Sterilize attachment according to specification.

For Straight-type and Contra Angle with Fixed Head:

  • Spray handpiece cleaner into attachment and chuck hole.
  • Run handpiece UPSIDE DOWN into a paper towel to expel excess cleaner.
  • Sterilize attachment according to specification.

To Lubricate BOTH types:

  • Drop 2-3 drops of handpiece lubricant into attachment and chuck hole.
  • Attach to motor and run UPSIDE DOWN into paper towel to expel excess.
  • Attachment is now ready to use.

Electric 1:5 Attachment Maintenance Tips

Electric Attachment Maintenanc

  • Remove the attachment from the motor.
  • Remove the bur.
  • Use a damp cloth (2 X 2) with water only (never alcohol or anything containing alcohol) and wipe down all external surfaces. Do not place under running water. Dry handpiece off completely.
  • If you are using an automatic cleaner, place attachment in the maintenance machine and run cycle.
  • If you do not have a maintenance machine, then with the proper nozzle, spray Kavo spray into the bottom of the attachment for three seconds.
  • Place the attachment on purge unit and hold for 10-15 seconds.
  • When complete, be sure to wipe off any excess oil that remains.
  • Bag and sterilize the attachment – the maximum temperature should not exceed 275 degrees.
  • Allow attachment to cool completely on it’s own prior to next use.
  • Spray a one second shot of Kavo spray(oil or oil and cleaner combination) with a clean nozzle in the large hole in the bottom of the attachment. Then put the attachment on the motor and run the handpiece upside down with the head on a paper towel to purge until all excess oil/cleaner is gone.
  • Once a week, spray Kavo cleaner with appropriate nozzle into the front of the attachment (chuck). While holding the push button down, slide an interproximal brush in and out of the chuck to remove any debris that may be inside. Do this carefully and do not release the push button to avoid breaking the brush off inside the head. Repeat until proxy brush is clean. (You may also use a bur instead of the Proxy brush.)
Scroll to top